How to Build a Small Gallery Wall with Photo Frames
A gallery wall does not need to cover an entire room. A small, edited group of frames can make an entryway, hallway, bedroom corner, or home office feel finished.
Choose a theme before choosing frames
The easiest gallery walls have a point of view. You might group family portraits, travel photos, wedding moments, black-and-white prints, children artwork, or pressed botanicals. When the subject matter feels connected, the frames can vary without the wall feeling messy.
Pick one main frame material
Use one material as the anchor. Solid wood gives the wall warmth and structure. Clear acrylic keeps the arrangement light and modern. If you want color, choose one accent family, such as bright acrylic, and repeat it in two or three places.
Plan the spacing
Lay the frames on the floor before hanging. Keep spacing consistent, usually 2 to 3 inches between frames for a tight gallery look and 4 to 6 inches for a more relaxed wall. Start with the largest frame near eye level, then build around it.
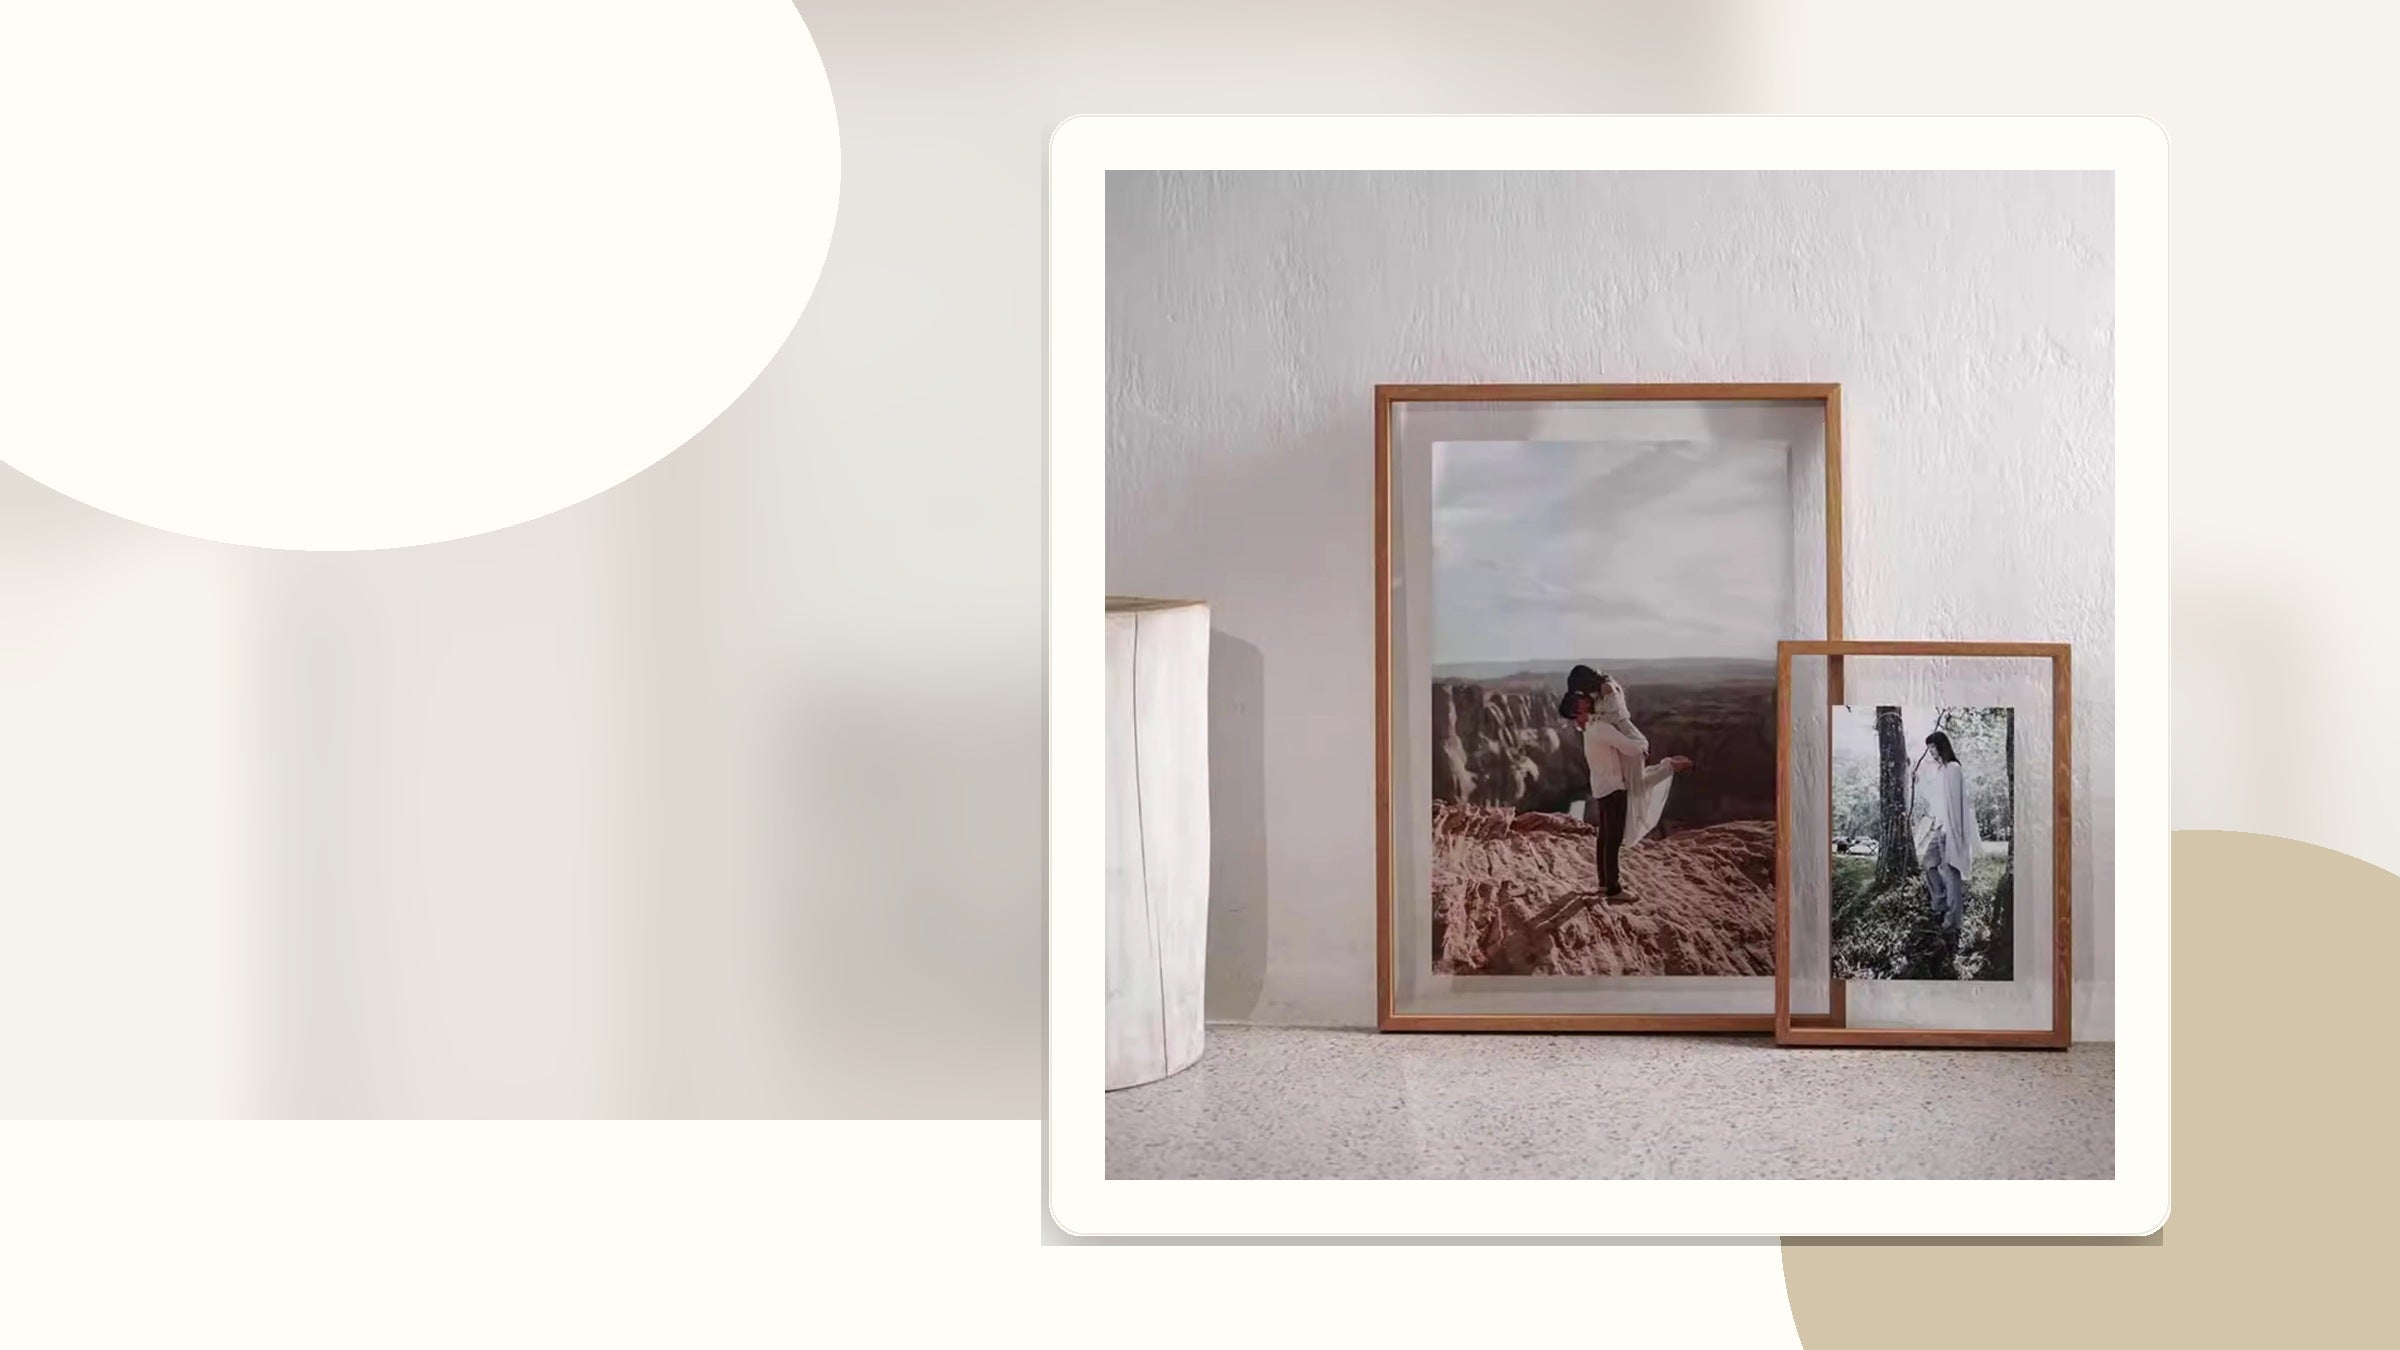
Mix sizes with intention
A balanced wall usually includes one larger frame, two medium frames, and one or two smaller moments. Mini frames can work on a narrow wall or beside a shelf, especially when paired with a large wall frame above.
Leave room to grow
Start smaller than you think. A three-frame or five-frame arrangement is easier to live with, and you can add more photos over time as the story develops.
Begin with large wall frames, then add solid wood photo frames or acrylic photo frames for contrast.
Read more

How to Care for Solid Wood and Acrylic Photo Frames
Care tips for keeping solid wood and acrylic photo frames clean, clear, and display-ready over time.
Read more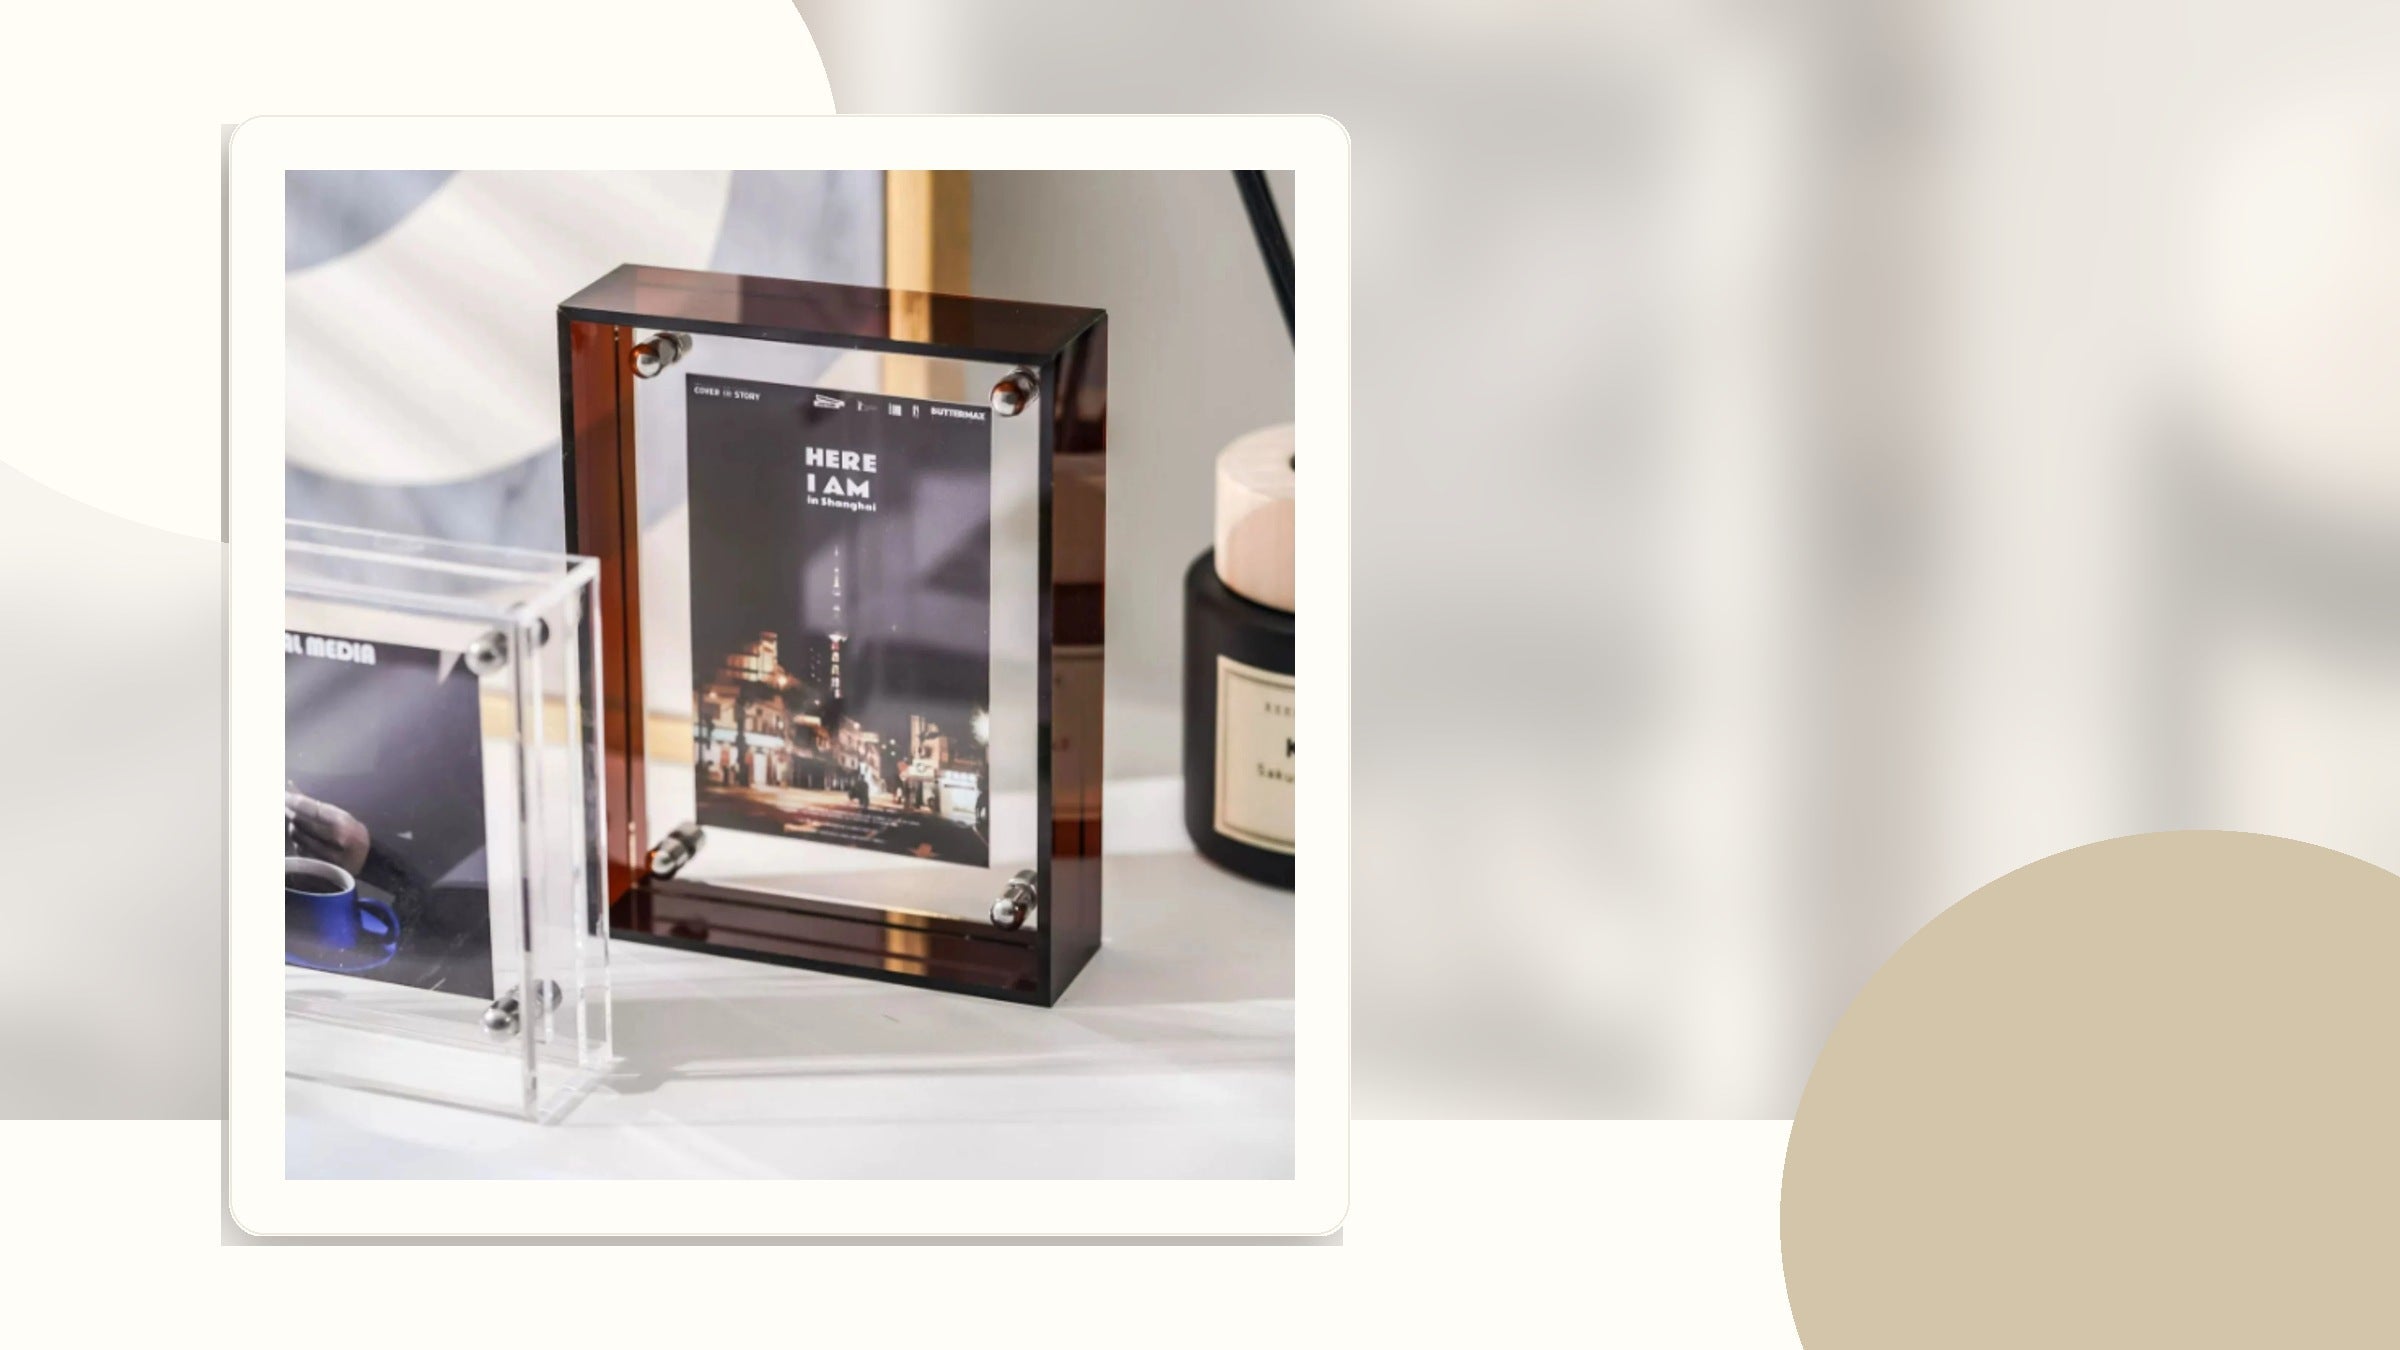
Desk Frame Styling Ideas for Shelves, Nightstands, and Offices
Simple ways to style tabletop and mini photo frames on desks, shelves, bedside tables, and workspaces.
Read more